I'm struggling this week. Think I over done it last week. Iv taken the wheel off, actually found a socket that fitted! Indicator stalk seems knackered and abit broken. Hopefully I can fix it. I might have some spares somewhere that might work. Cant afford a new one but looks like a mini one will fit which are a lot cheaper and more common and will do for the moment if I can't fix it.
I borrowed a rivnut tool and moved 2 captive nuts on the lower wing as its a better fit. Both front wings are now fitted. Need to remove the front panel prep it and paint it again. Also need to paint the roof and gutter. Iv got some etch primer for this. Iv got some seam seal in a tube for around the gutter and front wings on the top.
That's about it for the moment. Might start some paint prep tomorrow. Once the paintings done I can waxoyl the box sections and inner wings. Just the electrics then!
Steves Morris Traveller 1970
Forum rules
By using this site, you agree to our rules. Please see: Terms of Use
By using this site, you agree to our rules. Please see: Terms of Use
-
greendefender123
- Minor Addict
- Posts: 762
- Joined: Mon Jul 27, 2015 6:10 pm
- Location: Brompton Regis nrDulverton
- MMOC Member: No
-
greendefender123
- Minor Addict
- Posts: 762
- Joined: Mon Jul 27, 2015 6:10 pm
- Location: Brompton Regis nrDulverton
- MMOC Member: No
Re: Steves Morris Traveller 1970
Iv been getting the car ready for the last bits of paintwork. Front panels back off and rubbed down and in etch primer. Iv rubbed the roof back and fixed the scratches on the doors and wings ready for paint. Just gotta mask it up and paint.
- 20170419_142010_zpselunzoaw.jpg (377.09 KiB) Viewed 16243 times
- 20170419_142036_zpsztgyuitx.jpg (279.71 KiB) Viewed 16243 times
Last edited by greendefender123 on Sat Jul 08, 2017 9:44 pm, edited 1 time in total.
-
greendefender123
- Minor Addict
- Posts: 762
- Joined: Mon Jul 27, 2015 6:10 pm
- Location: Brompton Regis nrDulverton
- MMOC Member: No
Re: Steves Morris Traveller 1970
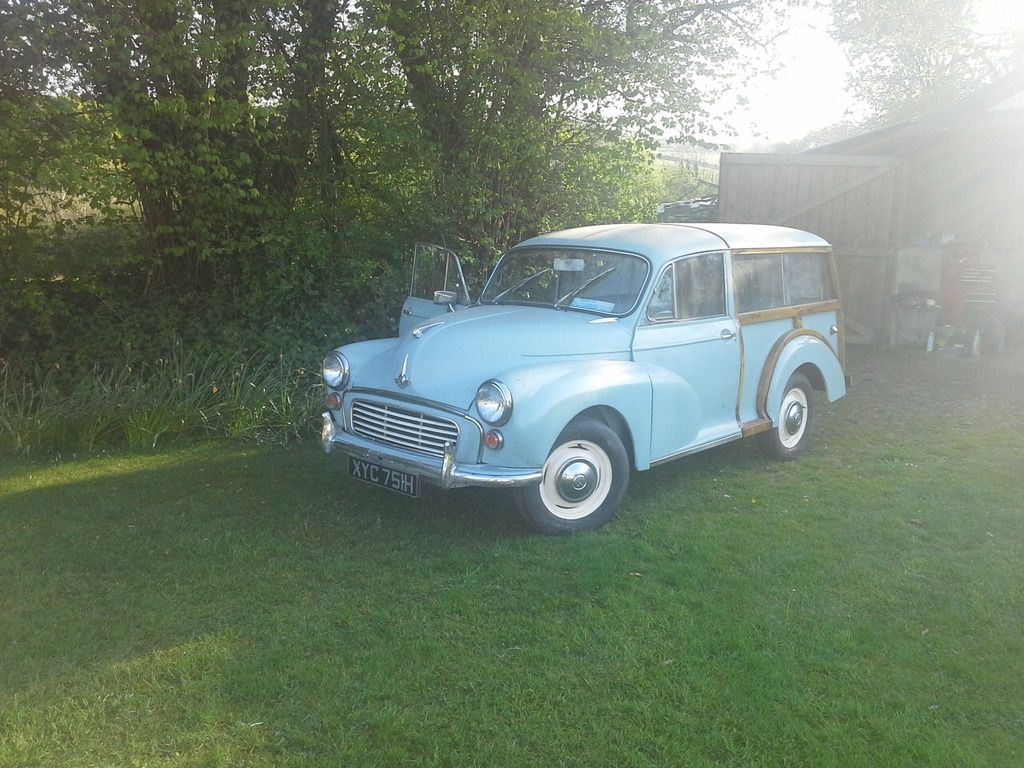
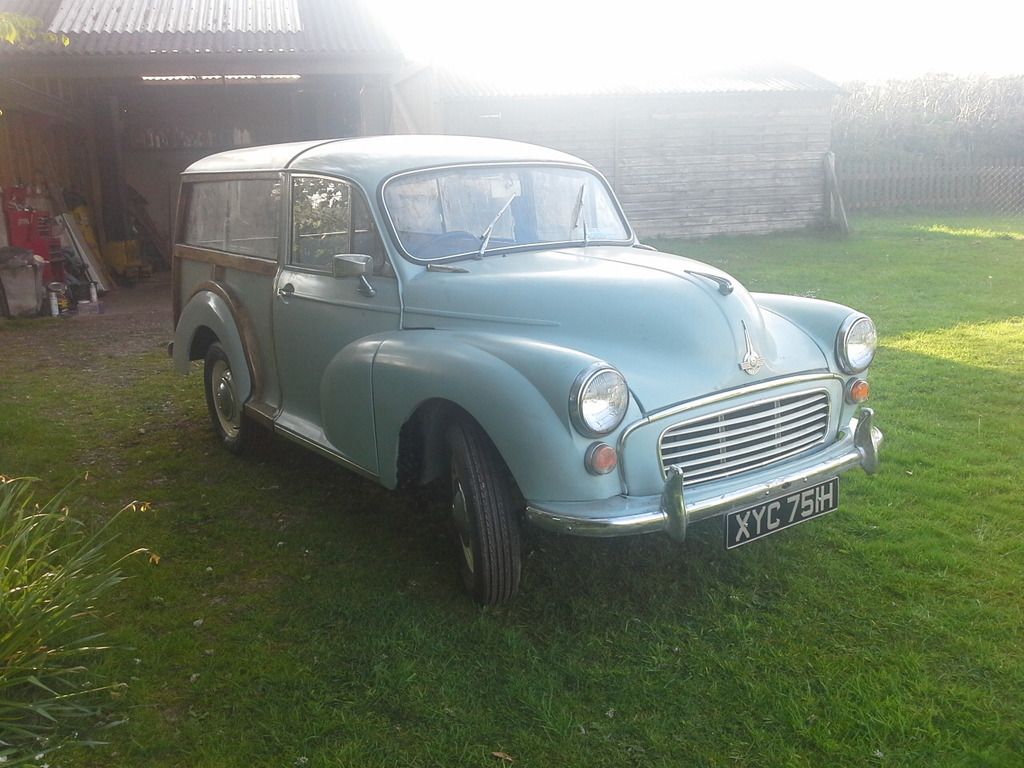
Quite a productive day on the moggie. Especially as I spent afew hours in bed this afternoon. Paint works all done! Only a tiny bit of paint left. Really I should of got more than 5 litres.
-
greendefender123
- Minor Addict
- Posts: 762
- Joined: Mon Jul 27, 2015 6:10 pm
- Location: Brompton Regis nrDulverton
- MMOC Member: No
Re: Steves Morris Traveller 1970


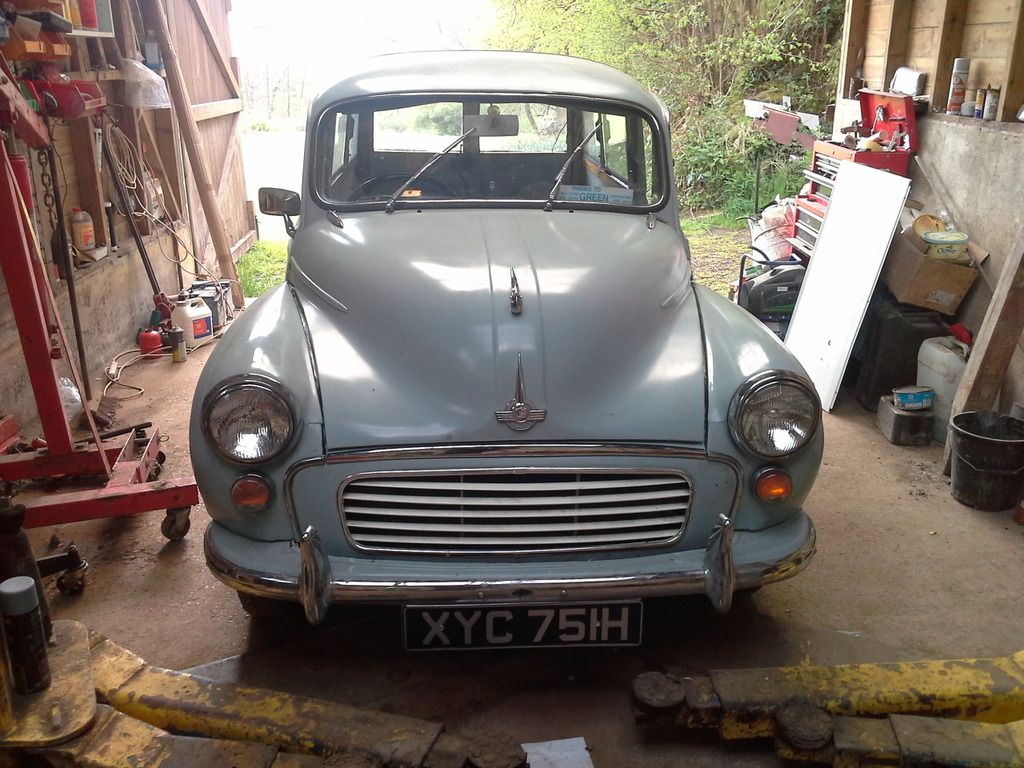
Mother looking at it like in the 1st picture.


-
firedrake1942
- Minor Legend
- Posts: 2951
- Joined: Tue Aug 25, 2015 6:07 pm
- MMOC Member: No
Re: Steves Morris Traveller 1970
An amazing difference and a tribute to your hard work and energy . Well done!
-
greendefender123
- Minor Addict
- Posts: 762
- Joined: Mon Jul 27, 2015 6:10 pm
- Location: Brompton Regis nrDulverton
- MMOC Member: No
Re: Steves Morris Traveller 1970
Thanks im really proud and happy with it. Wont be long now.
-
irmscher
- Minor Legend
- Posts: 3773
- Joined: Wed Jul 14, 2010 10:53 am
- Location: South Manchester
- MMOC Member: Yes
Re: Steves Morris Traveller 1970
A credit to you  looks lovely
-
Smithy1961
- Minor Fan
- Posts: 147
- Joined: Thu Nov 10, 2016 9:02 am
- MMOC Member: Yes
Re: Steves Morris Traveller 1970
Looking good .
-
greendefender123
- Minor Addict
- Posts: 762
- Joined: Mon Jul 27, 2015 6:10 pm
- Location: Brompton Regis nrDulverton
- MMOC Member: No
Re: Steves Morris Traveller 1970
Been doing the electrics today. Got the brake lights working. Managed to make a good indicator stalk out of 2 was a right pain as you cant change the wire to the tell tale switch so had to solder onto what was left. I was struggling getting the bits on for the contacts and knowing which order as it all fell apart. Got there in the end. Got problems with the flasher unit as one dosent flash properly and the tell tale dosent work on the other one. Also the sidelight part of the switch dosent work till the lights are on so il have to order a new one. That's about it for the moment.
Thinking of fitting an electronic ignition or getting mine rebuilt buy distributor doctor. Cant decide at the moment.
Thinking of fitting an electronic ignition or getting mine rebuilt buy distributor doctor. Cant decide at the moment.
- 20170426_151813.jpg (432.2 KiB) Viewed 16346 times
-
irmscher
- Minor Legend
- Posts: 3773
- Joined: Wed Jul 14, 2010 10:53 am
- Location: South Manchester
- MMOC Member: Yes
Re: Steves Morris Traveller 1970
I would go for electronic and keep a spare points set up in the boot 
-
greendefender123
- Minor Addict
- Posts: 762
- Joined: Mon Jul 27, 2015 6:10 pm
- Location: Brompton Regis nrDulverton
- MMOC Member: No
Re: Steves Morris Traveller 1970
Iv just ordered this one. http://www.ebay.co.uk/itm/190877040836? ... EBIDX%3AIT
I'm just gonna get a new cap and Rotor arm for the old one. The points look ok in it and the old condensers never seem to fail in my experience. I'm sure a faulty vacum advance won't stop it from getting you home.
I'm just gonna get a new cap and Rotor arm for the old one. The points look ok in it and the old condensers never seem to fail in my experience. I'm sure a faulty vacum advance won't stop it from getting you home.
-
greendefender123
- Minor Addict
- Posts: 762
- Joined: Mon Jul 27, 2015 6:10 pm
- Location: Brompton Regis nrDulverton
- MMOC Member: No
Re: Steves Morris Traveller 1970
Got the indicators working in the end. Abit of encouragement got the original one working. Iv changed the polarity to negative earth but my fuel pump won't work now. Iv got a new one tho. The side lights on the front are abit temperamental. Think the springs are abit weak on the back. Iv ordered another switch for the lights. Its not a proper one just one for now.
-
firedrake1942
- Minor Legend
- Posts: 2951
- Joined: Tue Aug 25, 2015 6:07 pm
- MMOC Member: No
Re: Steves Morris Traveller 1970
The lights are often an earth issue. Check that first. Is the light cluster earthed / bullet connectors all connecting and not dirty?
I am getting really impatient to see the wheels in paint. The traveller looks great but will be even better with OEW wheels !
I am getting really impatient to see the wheels in paint. The traveller looks great but will be even better with OEW wheels !
-
greendefender123
- Minor Addict
- Posts: 762
- Joined: Mon Jul 27, 2015 6:10 pm
- Location: Brompton Regis nrDulverton
- MMOC Member: No
Re: Steves Morris Traveller 1970
Iv gone over the top with earth's and cleaning up connections. Dont worry they'll be painted at some point before the mot.
Haven't done much today but it feels like iv achieved alot. Apart from the interior light all the electrics are working and the cars now negative earth. The points on the pump are knackered. From how pitted they are they could even be original. When we picked it up we had to bash the pump a couple of times tho its been ok till I changed the polarity. I bought a brand new pump off here and it came with a broken pump aswell. Abit of super glue, solder and cleaning the points got the broken one going. Will probably fit it or the new one. Will fix the original pump at somepoint but its not important at the moment.
Some of bulbs were abit lose in the holders, managed to fix most of them but had to add solder onto one bulb as a temporary fix. I changed a blown sealed beam unit. Reattached the indicator stalk. All the light lenses are on now. I don't have the hang of doing the rear ones. They're a right pain. Found some bulbs that came with it aswell. It's nice finishing bits off.
-
Smithy1961
- Minor Fan
- Posts: 147
- Joined: Thu Nov 10, 2016 9:02 am
- MMOC Member: Yes
Re: Steves Morris Traveller 1970
I too would love to see how the car looks with white wheels and hubcaps ...I think it will transform how it looks
-
greendefender123
- Minor Addict
- Posts: 762
- Joined: Mon Jul 27, 2015 6:10 pm
- Location: Brompton Regis nrDulverton
- MMOC Member: No
Re: Steves Morris Traveller 1970
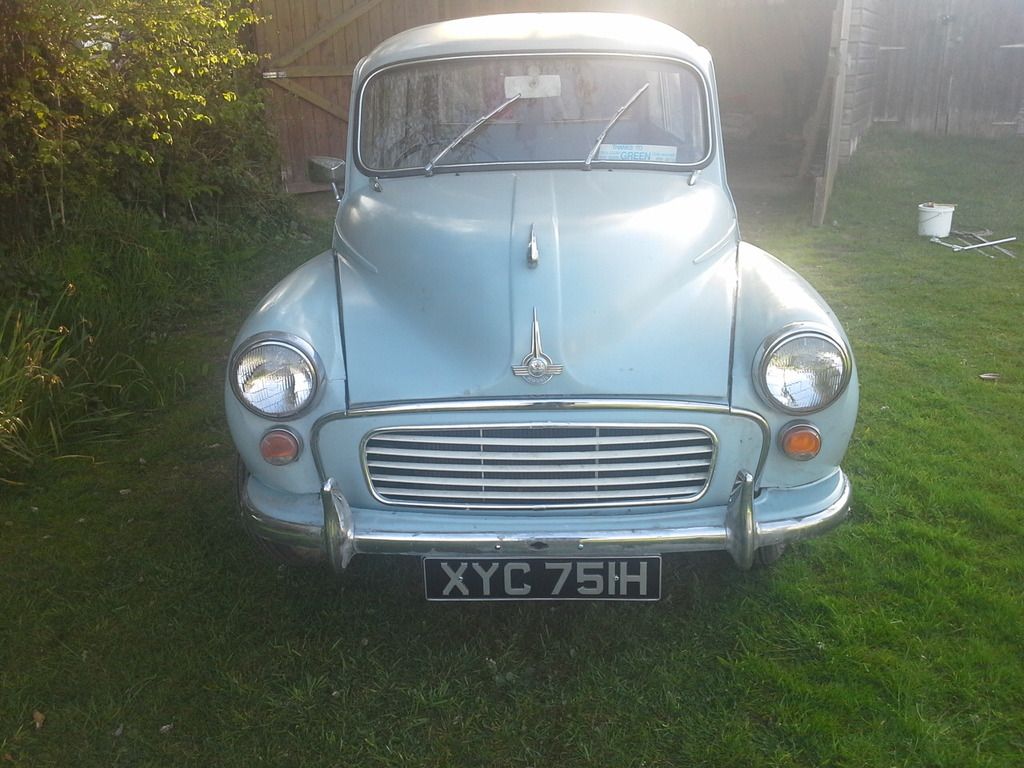
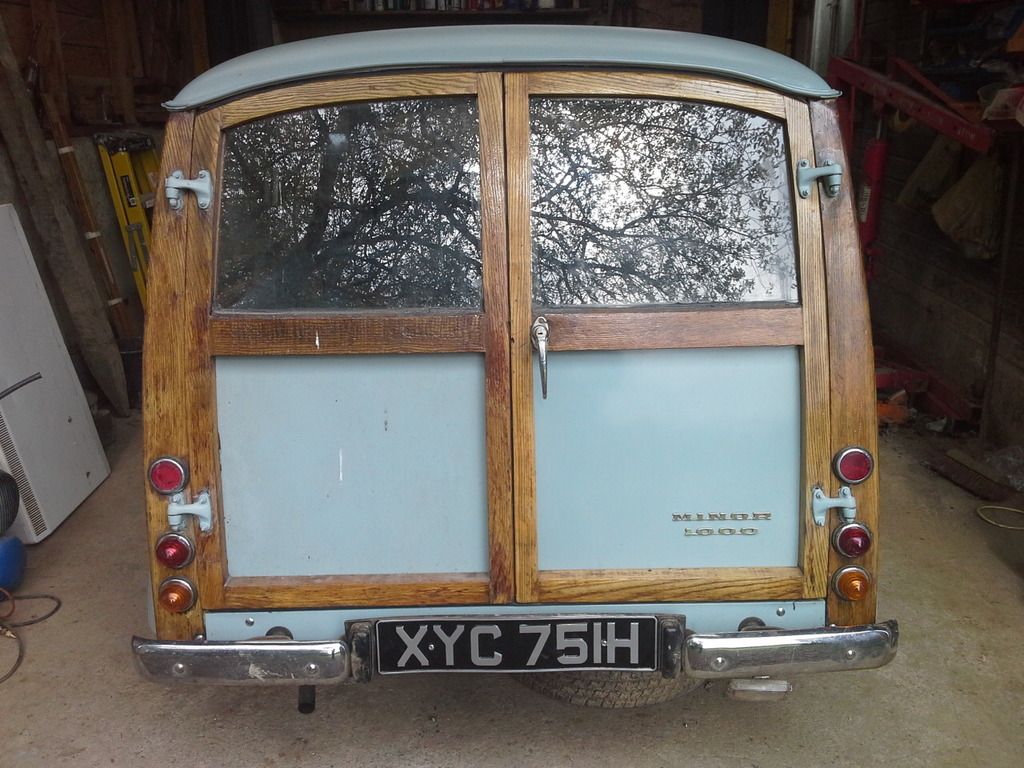
New plates fitted. Looks so much better with black and silver on. Unfortunately since changing the polarity the car hasn't started  The pump works now after changing it for the new one. Ran out of fuel the other day but iv got more now. I'm gonna take the points out and properly clean then. Even tho iv got the electronic ignition would rather getting it running again on the old points. Apart from that iv just been doing the silly little jobs. I'm abit annoyed that the small compressor won't run the paraffin gun with waxoyl. It just dosent have the power. I don't really want to replace the large one yet so im going to have to see what I can do. That's about it for now. I'm not brave enough to book the mot yet.


-
greendefender123
- Minor Addict
- Posts: 762
- Joined: Mon Jul 27, 2015 6:10 pm
- Location: Brompton Regis nrDulverton
- MMOC Member: No
Re: Steves Morris Traveller 1970
Sorry smithy haven't got that far yet! My astra also the rear beam bushes changing which will probably take up most of this week after I get the car running today.Smithy1961 wrote:I too would love to see how the car looks with white wheels and hubcaps ...I think it will transform how it looks
-
greendefender123
- Minor Addict
- Posts: 762
- Joined: Mon Jul 27, 2015 6:10 pm
- Location: Brompton Regis nrDulverton
- MMOC Member: No
Re: Steves Morris Traveller 1970
Well my points are completely knackered. Nothing left to rub down. Dont know how it was running atall before. So iv fitted the electronic distributor. Had to retard it alot to get it running. Iv left it roughly in the middle between to far advance and to far retarded. Will redo it when it's on the road il use Roys method. I also changed 2 ht leads as they wernt a tight fit on the plugs. Dynamo is charging around 13-13.5 volts which I'm assuming is about right. I was worried about it overcharging and breaking the new electronic ignition. Just having abit of a break now.
-
greendefender123
- Minor Addict
- Posts: 762
- Joined: Mon Jul 27, 2015 6:10 pm
- Location: Brompton Regis nrDulverton
- MMOC Member: No
Re: Steves Morris Traveller 1970
Well getting close now. Wheels are painted. Just need to fit the tyres tho Iv fitted one already. Most little jobs are done. Painted the bottom of the engine today aswell. Fitted my new horn button thanks to omegaman for that. Jobs left for mot are connecting speedo cable to the speedo, fitting the drivers seat belt, bolting the seat down properly, adjusting the handbrake, passenger door handle on the inside, putting the screws in the headlight chrome rims, that's all I can think of at the moment. Should clean out the carb bowl as the float was stuck when I got it.
Had an insurance quote for £82 so will be cheap enough to put on the road. Need to mot my landy as that's due next month then I can start on the interior. Will also need to change the logbook to historic but need the mot 1st.
Had an insurance quote for £82 so will be cheap enough to put on the road. Need to mot my landy as that's due next month then I can start on the interior. Will also need to change the logbook to historic but need the mot 1st.
-
greendefender123
- Minor Addict
- Posts: 762
- Joined: Mon Jul 27, 2015 6:10 pm
- Location: Brompton Regis nrDulverton
- MMOC Member: No
Re: Steves Morris Traveller 1970
Iv waxoyled the common rust places underneath. Inside the sills and the chassis legs at the back with a long pipe. Haven't gone over the top with the waxoyl. Wheels now painted and fitted with new tyres. Sill finishers and kick plates fitted tho still need to fit the screws at the top. Mot is booked for the 23rd only a few jobs left I hope. Spent most of today trying to get it run right. It's been cutting out when getting hot. Iv tried everything from the coil wires ht leads stripped and cleaned the carb. Loads of dirt came out. After lots of fiddling with the car and a new set of spark plugs it's been running really well. Drove it road the field for awhile and it never tried to cut out so fingers crossed it's fixed now. Iv bought the insurance now aswell. Not much left. Looking forward to doing the interior after the mot.