I'm currently on a gap year working a lot of overtime at Waitrose( lymington should you ever want to swing by
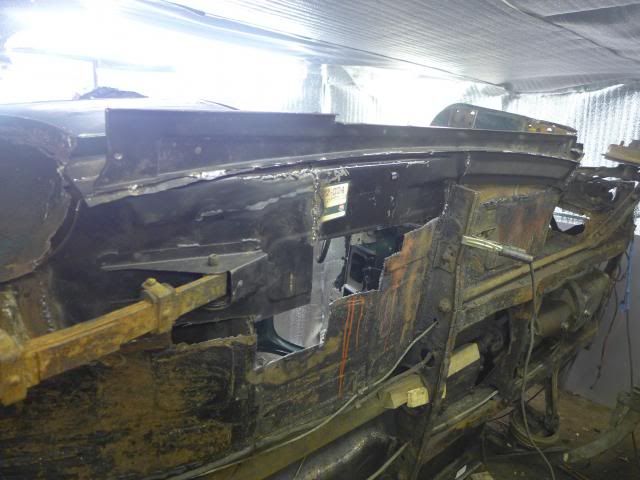
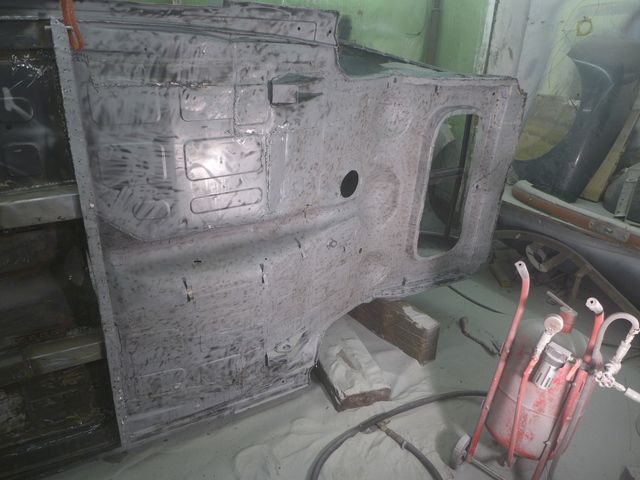
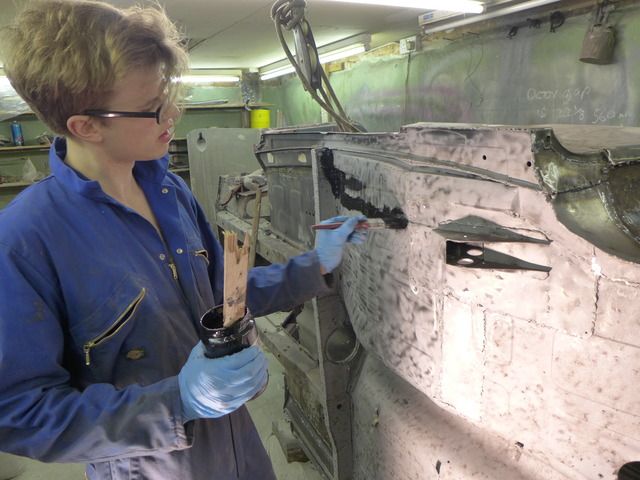
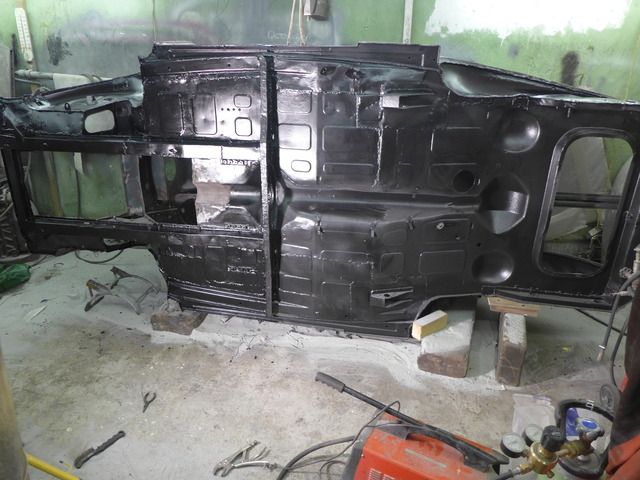
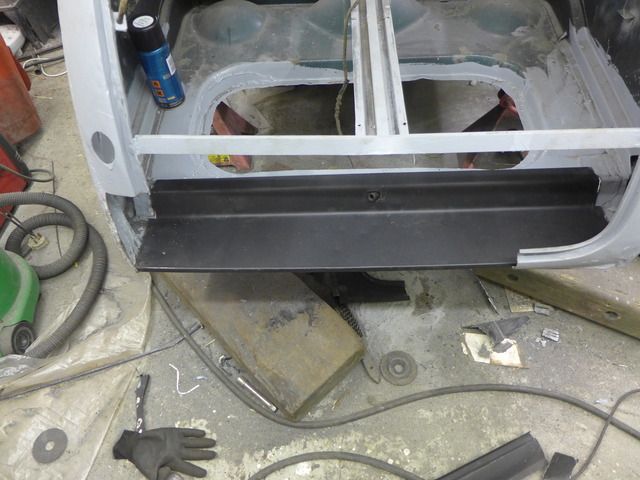
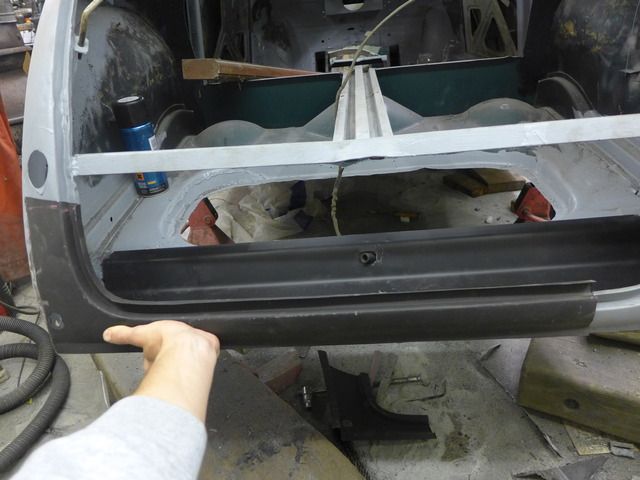
Anyway I'll let the pictures do the talking, although they all seem to look rathr samey :


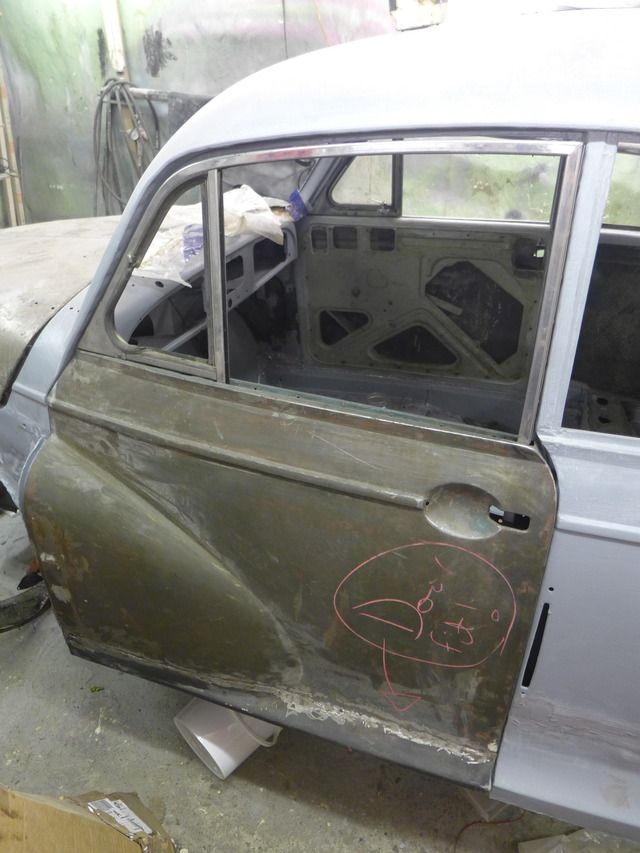
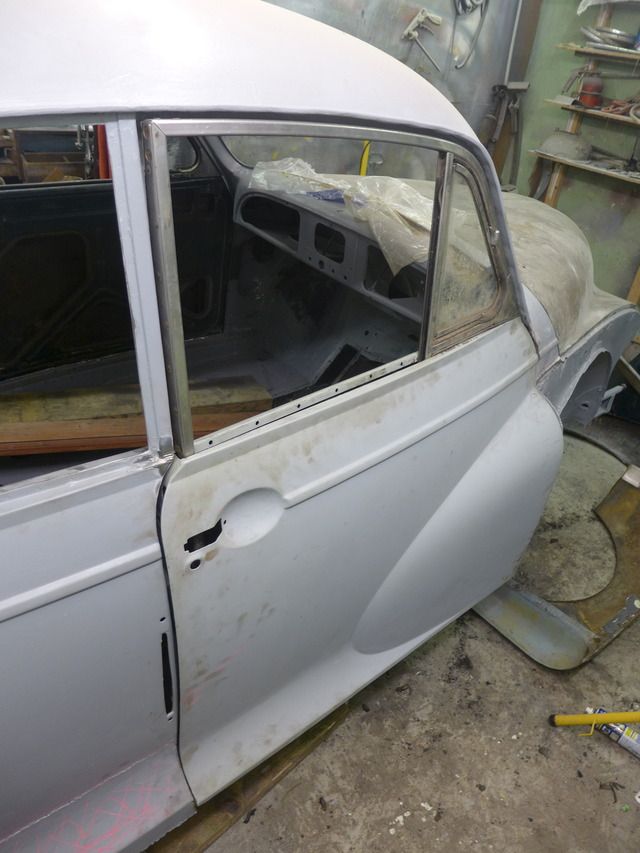
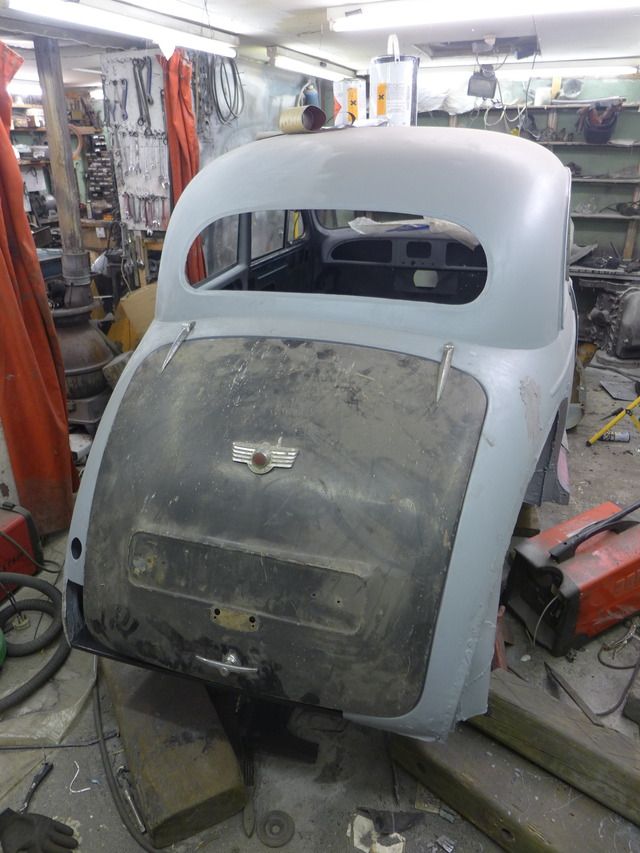

A small point but if you miss it now, you'll be kicking yourself after painting the car - being a later door, the RH door has provision for an escutcheon around the outside handle whereas the LH door doesn't. Weld up the RH door so it looks like an original from the outside.youngcamper wrote:The passenger door is the original one, but the drivers was a rusty replacement, luckily my Dad broke a 2 door in 1985, and he's kindly given me the door for the project( He's also given me a very nice and largely rust free early Series 2 bootlid thanks Dad!)
Hi Scott,Scott wrote:A small point but if you miss it now, you'll be kicking yourself after painting the car - being a later door, the RH door has provision for an escutcheon around the outside handle whereas the LH door doesn't. Weld up the RH door so it looks like an original from the outside.youngcamper wrote:The passenger door is the original one, but the drivers was a rusty replacement, luckily my Dad broke a 2 door in 1985, and he's kindly given me the door for the project( He's also given me a very nice and largely rust free early Series 2 bootlid thanks Dad!)
There's also a difference with the weatherstrip between the glass & door. You should find your LH door has one on the inside whereas the RH will have an inside + an outside one too.