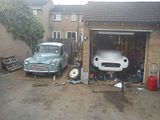
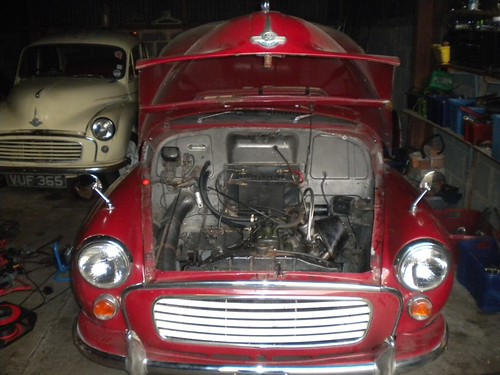
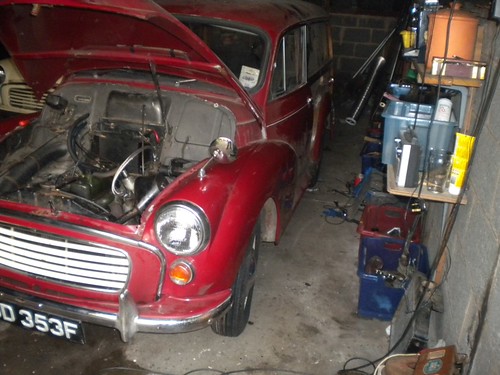
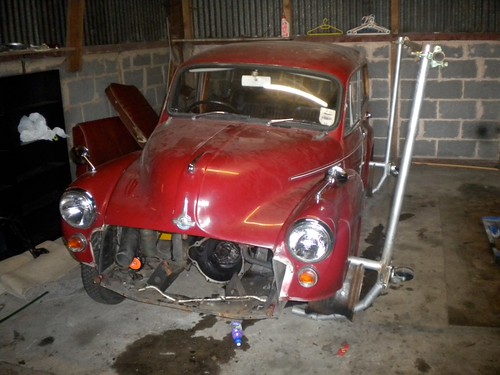
I decided to take the long weekend to start the 'getting back on the road' bit of our Traveler restoration. Other bits will include the application of an alternator and 'modern front seats'....
Back to the job in hand...
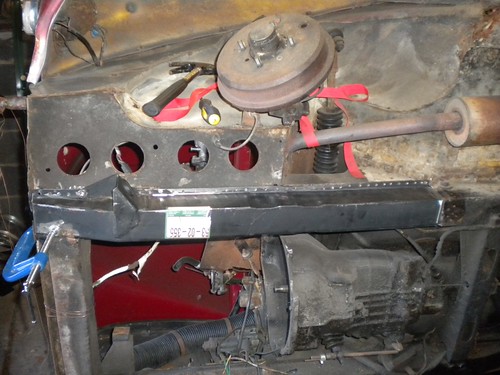
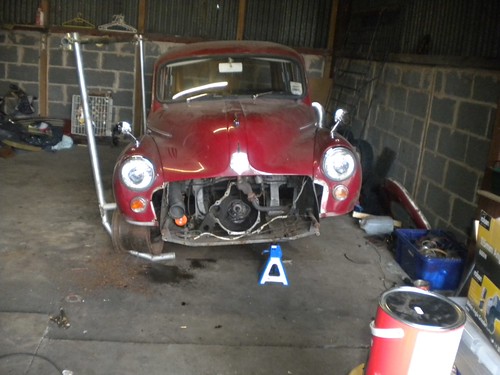
To get a decent idea of what is required I tipped her, after seeking advise from here first. Four of us did it in the end having removed the engine first.
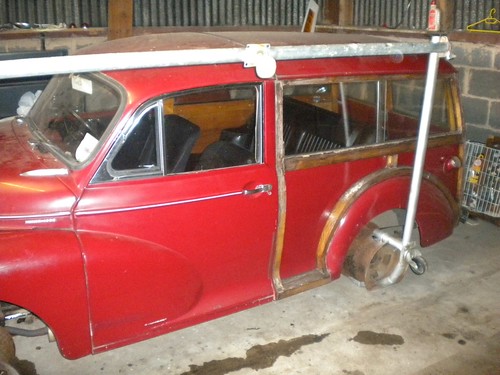
With the frame attached...
and then over.....
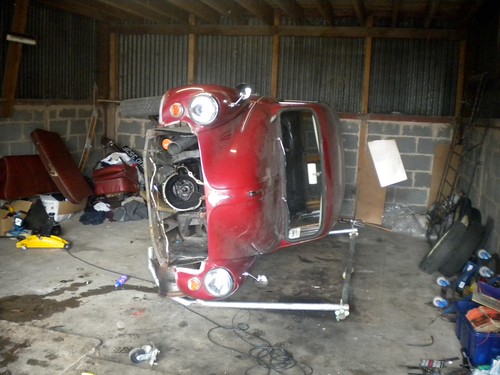
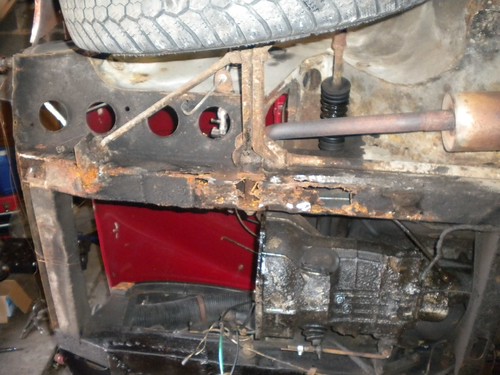
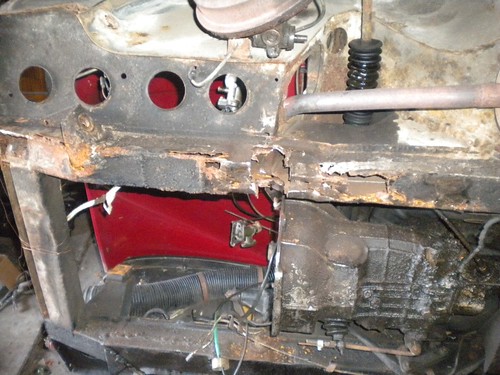
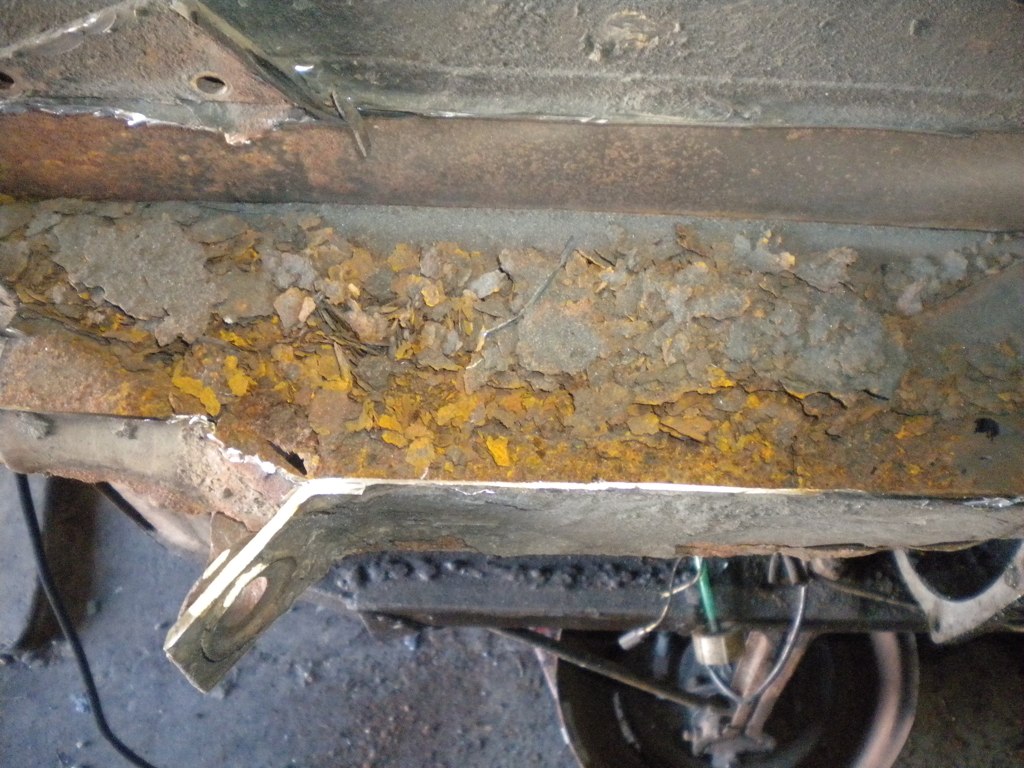
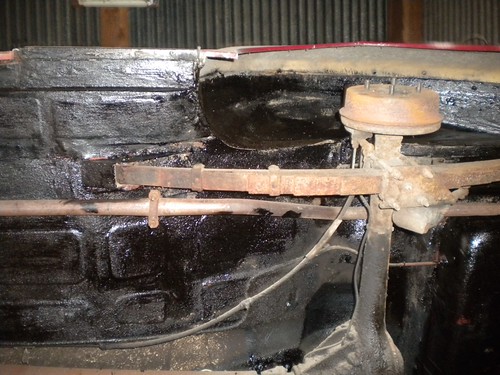
Now I can see what the floor is like. Someone has done some work to her in the past as she has what looks to be a new center piece, but a lack of proper rust proofing and under seal have taken their toll on the front legs and rear sills. Not as bad as I was expecting but still work that is required for the MOT.
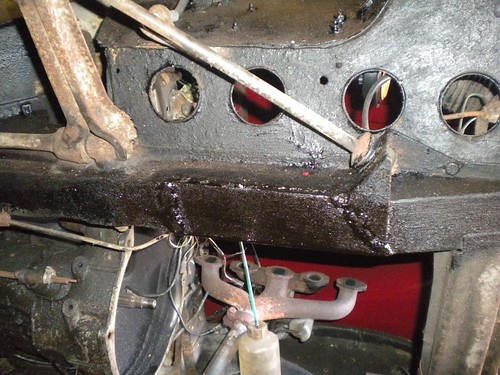
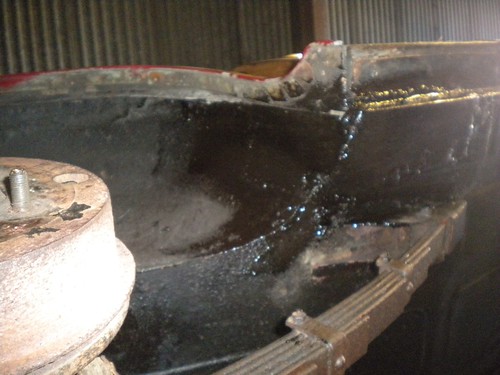
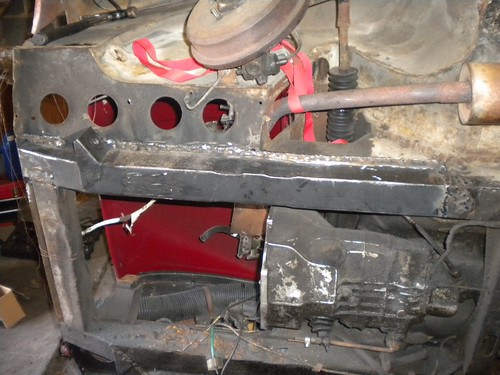
The underside....
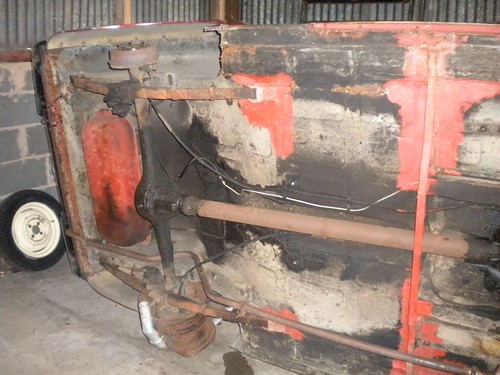
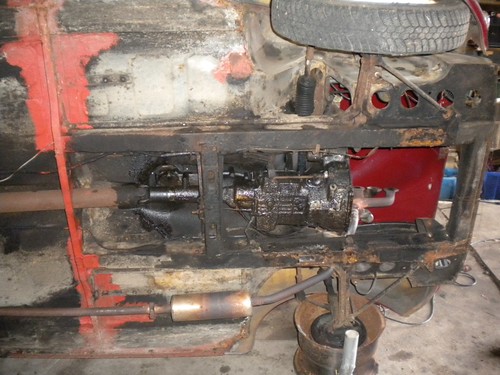
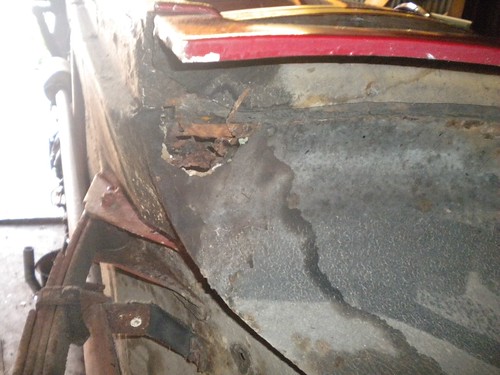
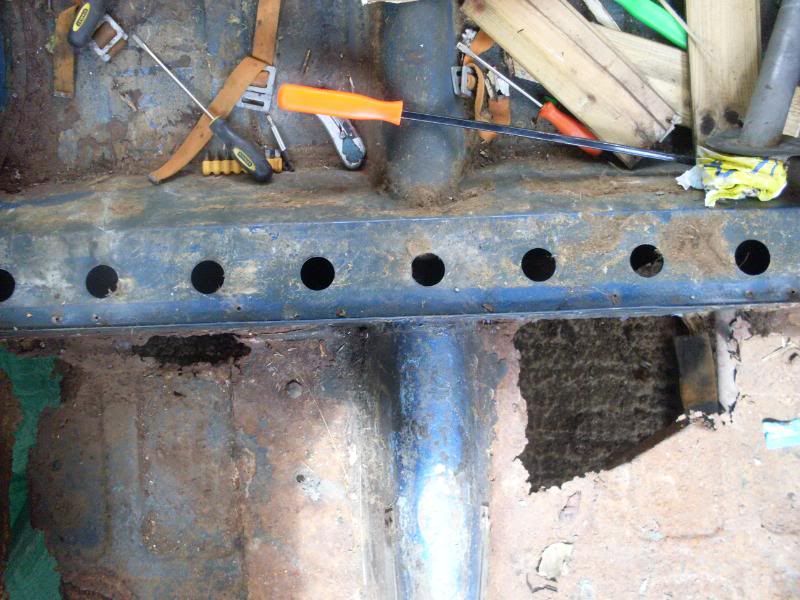
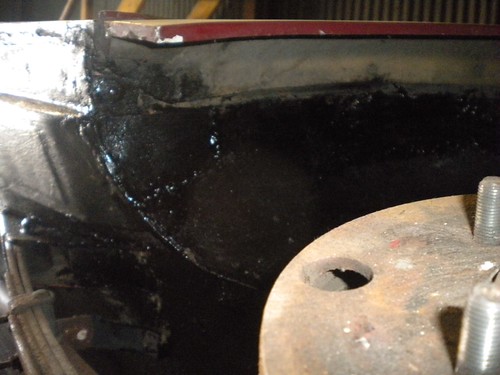
The rusty bits.....


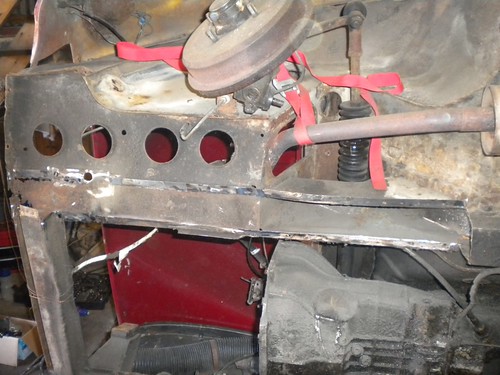
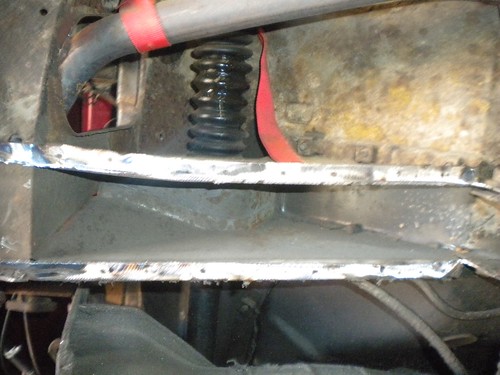
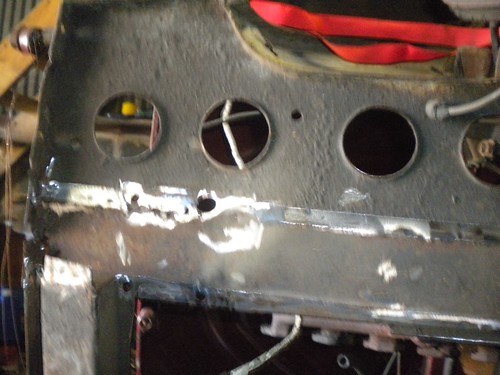
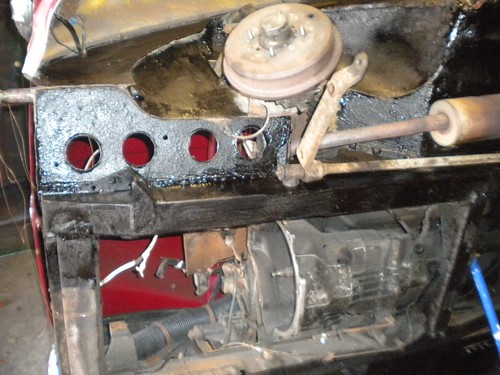
So now it's time to fabricate and weld.....
More pictures to follow....