Page 5 of 11
Re: Differential overhaul
Posted: Fri Oct 11, 2019 10:53 pm
by ndevans
Good evenings work tonight. I cleaned the 4.22 diff cage, and fitted the sun and planet wheels from the 3.9. I also fitted the new oil seal.

- IMG_20191011_220311~2.jpg (1.29 MiB) Viewed 2217 times
I used two new 0.035" thrust washers and a new shaft with the sun and planet wheels from the 3.9. The sun wheels have the fibre washers under them, which the sun wheels in the 4.22 originally didn't have. This seems to remove the excessive free play of the planet wheels on the shaft, as the video below shows.
https://youtu.be/zEha_jl_2lM
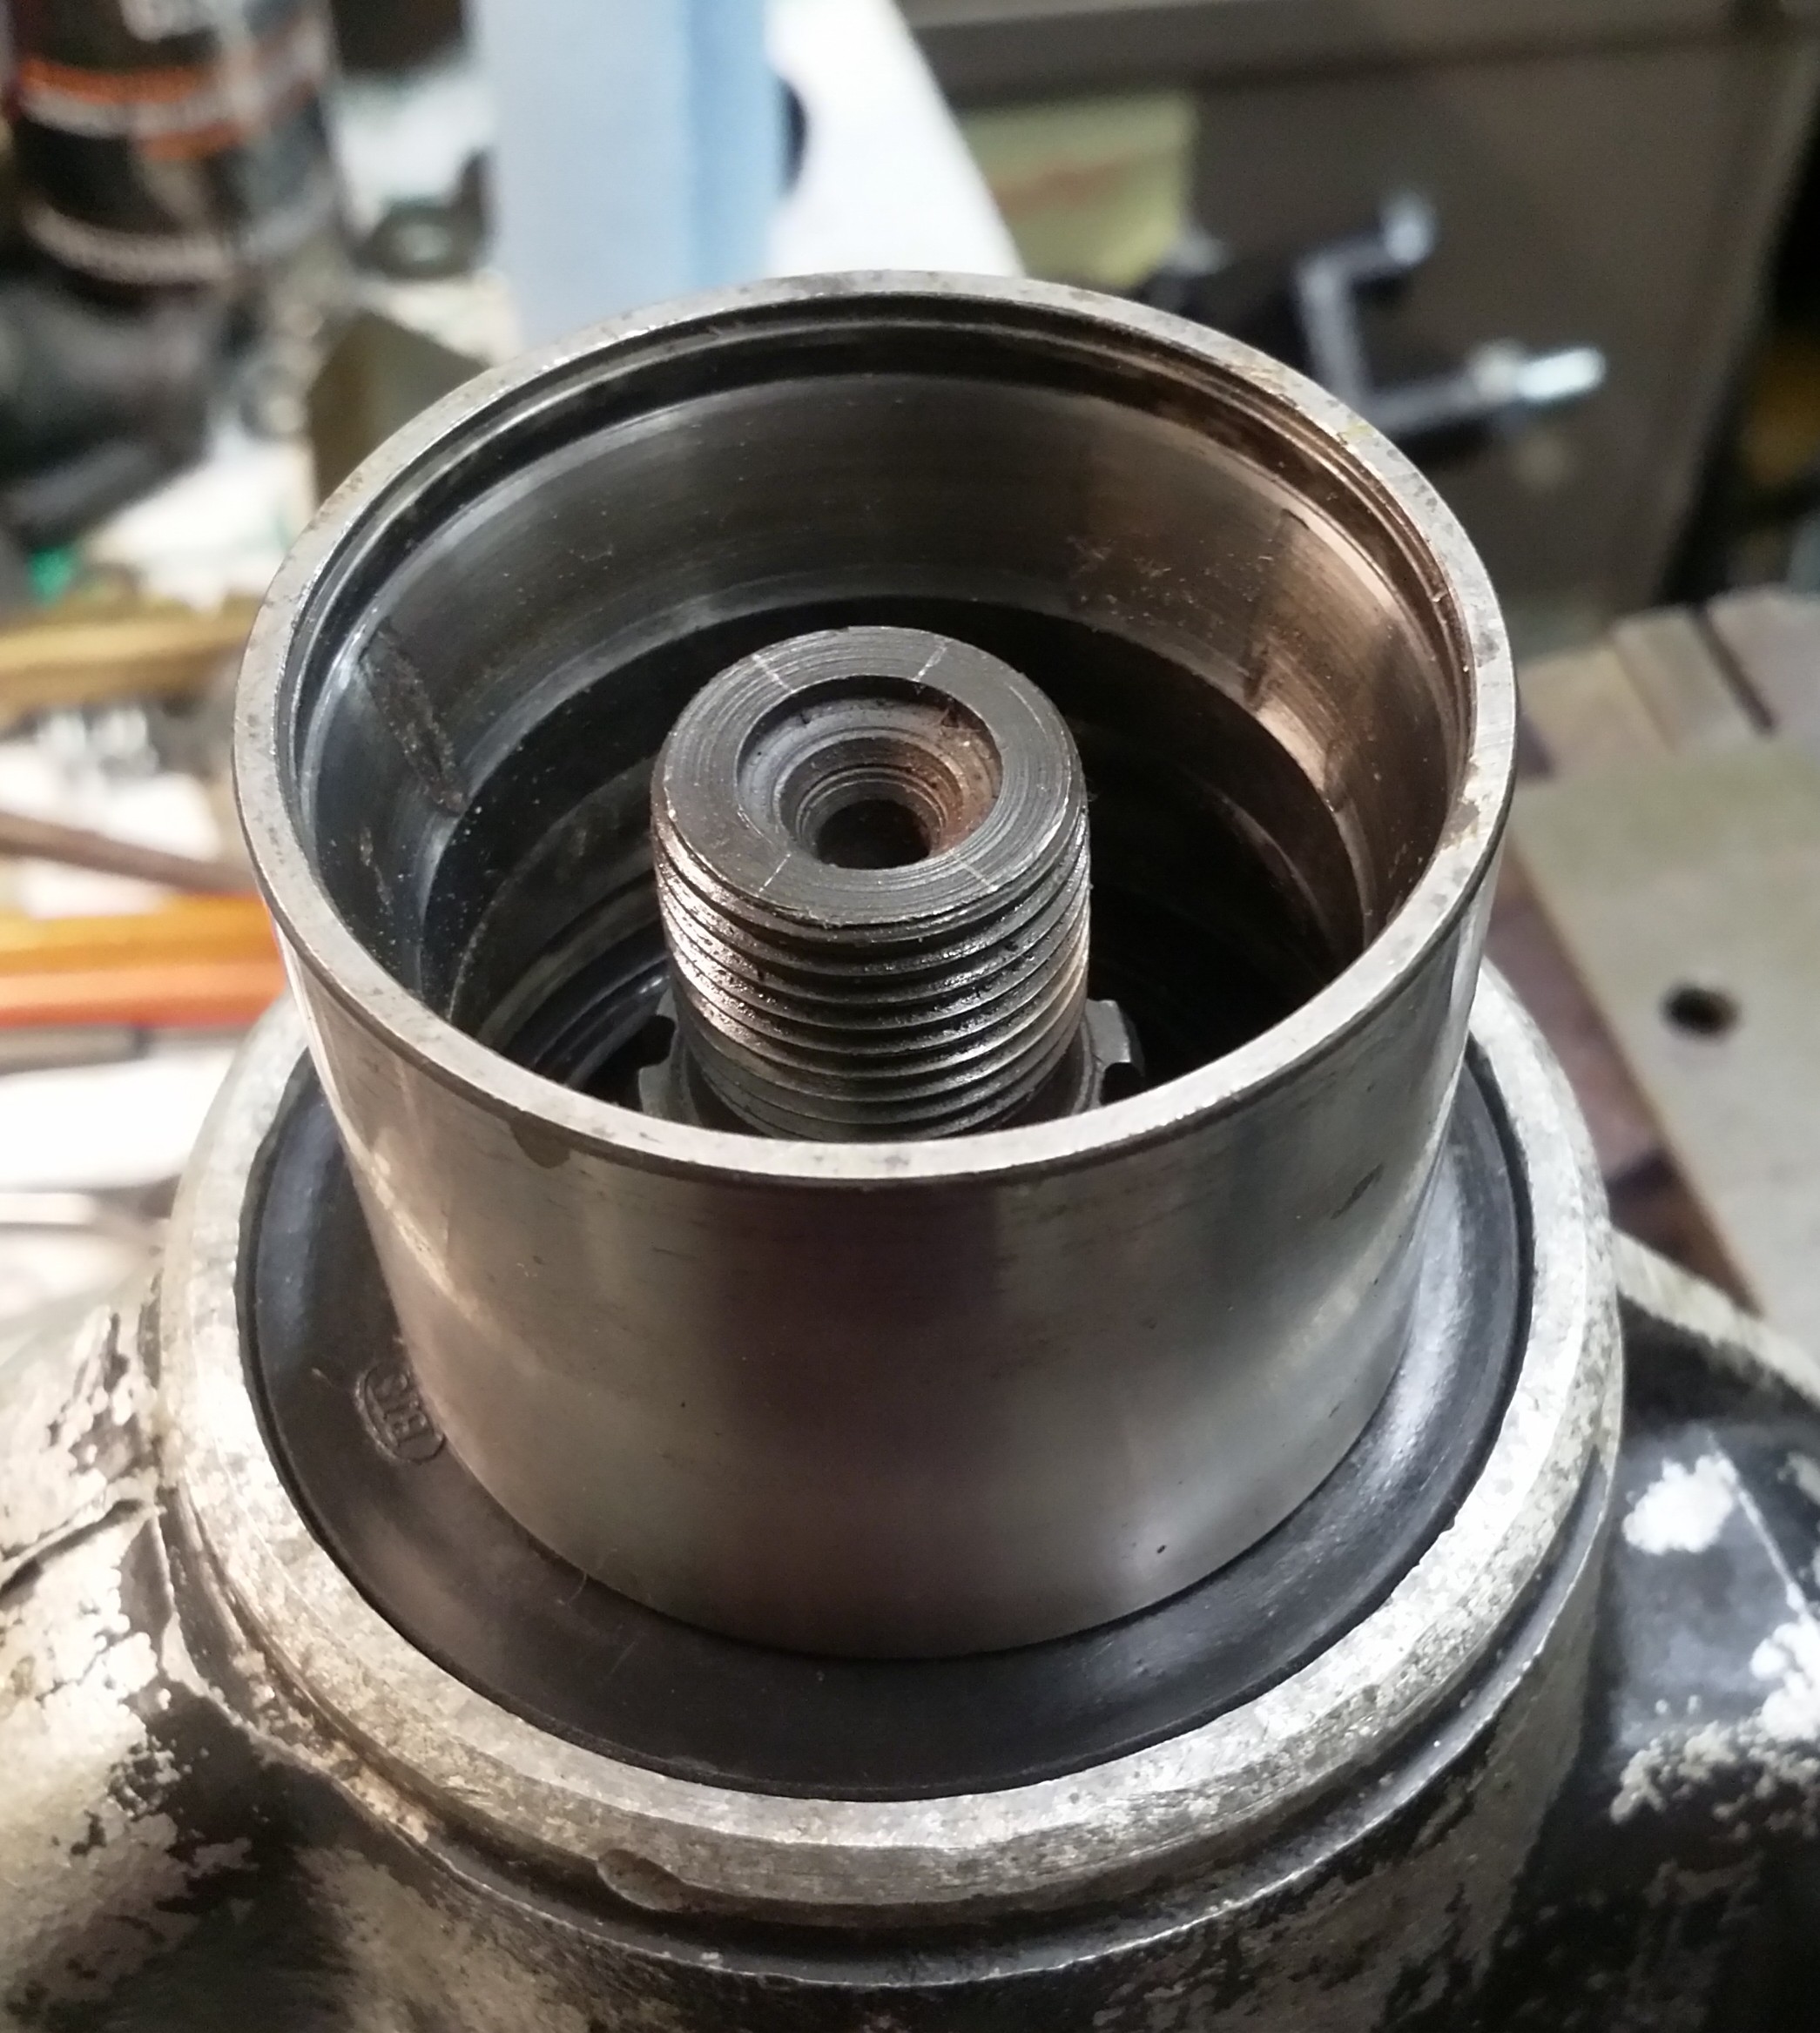
The oil seal fits in with the lip facing the diff.

- IMG_20191011_220604~2.jpg (767.53 KiB) Viewed 2217 times
I used an old bearing outer from the Micra to tap the seal home.
- IMG_20191011_220837~2.jpg (701.03 KiB) Viewed 2217 times
It fits nicely, just under the level of the casing.

- IMG_20191011_220845~2.jpg (764.11 KiB) Viewed 2217 times
Interestingly, with the new oil seal installed, the pinion is noticeably stiffer to turn when the flange is fitted.
Re: Differential overhaul
Posted: Wed Oct 16, 2019 11:33 pm
by ndevans
Not much progress. I have painted the 4.22 diff a nice shiny black. Beauty is only skin deep, but it does look good.

- IMG_20191014_230905~2.jpg (1.01 MiB) Viewed 2163 times
I've also put the flange and flange nut back on. I've torqued it up to 125lbft now, and the turning torque of the flange and pinion alone, without the cage in place, is around 3-4 in-lb. It was a lot less than than when I measured it before stripping, but what I don't know is what the original flange nut torque was.
It seems unlikely to me that it's going to get 4 times stiffer if I increase the torque on the flange nut to 140lbft. The nut is not lined up with the marks I made pre stripping, which makes me wonder whether it was done up anywhere near 140lbft.
So do I just crack on to 140lb-ft?
Cheers N
Re: Differential overhaul
Posted: Thu Oct 17, 2019 7:20 am
by Declan_Burns
Neil,
Regarding the marks on the nut:
Did you also mark the pinion and the flange?
Regards
Declan
Re: Differential overhaul
Posted: Thu Oct 17, 2019 7:52 am
by ndevans
Yes, I did, but what I didn't do was take note of how far down the screw thread the nut was before I took it off! I counted 4 & a bit turns. But the flange was very loose before I took the nut off, the turning torque was about half what it is now. I suspect the oil seal has been replaced before, as it doesn't look original, and maybe the nut hasn't been done up to the full 140.
Re: Differential overhaul
Posted: Thu Oct 17, 2019 8:44 am
by philthehill
The turning resistance of the pinion should be measured before the cage is fitted.
My recommendation is to carry on progressively tightening the pinion nut whilst constantly checking the resistance (8 to 10 lb/inch is the specified bearing preload) to turning.
The bearing preload is more important than the torque setting of the pinion nut. The torque setting of the pinion nut can be adjusted slightly either up or down to obtain the correct bearing preload.
Re: Differential overhaul
Posted: Thu Oct 17, 2019 9:16 am
by Declan_Burns
Phil,
I agree with the procedure but 8 … 10 lb. in. is the setting without the oil seal (WSM HH6). It must be 11 … 13lb. in. with the oil seal (WSM HH8). The oil seal adds 3 lb.in to the required setting. The max torque is 13 lb. in which must not be exceeded (WSM HH7).
I would torque the (NEW) pinion nut to as close to 140 ft.lbs as possible in small increments and measuring the pre-load at each stage.
Regards
Declan
Re: Differential overhaul
Posted: Thu Oct 17, 2019 9:54 am
by philthehill
Declan
You are correct in that the final bearing preload is 11 to 13 lb in with oil seal fitted. WSM HH.7..2 (1).
Phil
Re: Differential overhaul
Posted: Thu Oct 17, 2019 10:03 am
by ndevans
Thanks gents. My next problem is to work out how to hold the diff flange so that I can apply 140lbft without my vice breaking the work surface!
What if I get to 140lbft, and the flange/pinion torque is still nowhere near 12inlb?
Cheers N
Re: Differential overhaul
Posted: Thu Oct 17, 2019 10:26 am
by Declan_Burns
Neil,
You need a big vice-see photo.
If you get to 140 ft. lbs and your pre-load is not increasing to/or within range then you have a problem as more than likely, supposing you have a crush spacer, (which we don't know for sure), which has reached it limit.
If you currently have 125 ft. lbs and 3 … 4 in. lbs pre-load, you are not too far off. Just be careful as the pre-load increases rapidly as you get close to the range. A change of 0.001" in the travel of the pinion nut can cause a pre-load change of 5 in. lbs.!!
One thing which often gets overlooked. These values are usually quoted for bearings which have not been greased/oiled up. When the bearings are oiled you can expect lower and more constant pre-load readings. The typical reduction is 25% to quote Carl Cederstrand from his book on CWP interchanges. That is exactly your case. Carl quotes a figure 8 … 10 in. lbs. In other words it cancels out the oil seal.
Regards
Declan
Re: Differential overhaul
Posted: Thu Oct 17, 2019 11:16 am
by ndevans
Thanks Dec. My bearings will be fairly dry, it's been cleaned with gunk.
My vice is ok-it's the table that's the weak point!
Cheers N
Re: Differential overhaul
Posted: Fri Oct 18, 2019 12:25 am
by ndevans
Got it up to 132lbft this evening, no real change in pinion preload torque though.
I'm going to have to strengthen the bench that the vice sits on before I go any further. Either the vice is going to rip through the wood, or it'll pull the bench off the floor and away from the wall.
Cheers N
Re: Differential overhaul
Posted: Fri Oct 18, 2019 7:34 am
by Declan_Burns
Neil,
How are you measuring the pre-load?
Regards
Declan
Re: Differential overhaul
Posted: Fri Oct 18, 2019 7:44 am
by ndevans
I've got a length of light aluminium angle with two holes drilled for the flange bolts. I then balance weights on at 12" until it just starts to move. So far it's got to just under 100g, which is about 1/4lb. Taking into account the weight of the angle itself, 260g/m, or about 130g for the 50cm length from the centre of the flange to the end, that'll be a little over 100g in reality.
I guess what I should really do is re-drill the angle with the flange in the centre, so it balances.
Re: Differential overhaul
Posted: Fri Oct 18, 2019 1:32 pm
by Declan_Burns
ndevans wrote: ↑Fri Oct 18, 2019 7:44 am
I guess what I should really do is re-drill the angle with the flange in the centre, so it balances.
Neil,
That is what I do. I use 1 metre flat aluminium 20x2mm bar with the holes for the flange in the centre. I have notches cut on the top at every inch from the centre and have a 1lb weight on a string which I can position where I want. What you don't want to be measuring is the higher initial torque to get the pinion rotating-you measure the torque which just keeps it moving when you overcome the initial torque.
It can also be done with a spring balance and a piece of string.
To quote Carl Cederstrand from his book on CWP interchanges.
"If you do not own an appropriate torque wrench you may improvise an equivalent with a piece of heavy string and an inexpensive ($3) spring balance. Secure one end of the string to one of the bolt holes in the drive flange, wrap several turns of the string around the flange, and then pull. Be sure to pull the other end of the string with the spring balance at a right angle to the pinion shaft. The torque is the reading on the spring balance (in pounds) multiplied by the radius (in inches) of that portion of the flange around which the string is wrapped. Disregard the initially high torque required to start the pinion rotating and consider only the lower reading attained during a slow steady pull on the string." Unquote
BTW That $3 was in 1974!
Regards
Declan
Declan
Re: Differential overhaul
Posted: Fri Oct 18, 2019 1:40 pm
by Declan_Burns
Neil,
Have a read through this when you get the time-it is a brilliant tutorial!
http://billavista.com/tech/Articles/Gea ... index.html
Regards
Declan
Re: Differential overhaul
Posted: Fri Oct 18, 2019 2:19 pm
by Banned User
Thanks for the link to the article Declan, I’ll be sure to digest that asap.
Re: Differential overhaul
Posted: Fri Oct 18, 2019 7:55 pm
by philthehill
The yellow marking compound used in the link above to determine the tooth meshing is available from English Diff
sales@englishdiff.com
It is supplied with an application brush as part of the purchase.
It also comes with instructions for use and examples of right and wrong tooth pattern.
Also this tool may useful and looks as if it may adaptable for the Minor diff:-
https://www.bearingkits.co.uk/BMW-1-Ser ... t/1254.htm
Re: Differential overhaul
Posted: Tue Oct 22, 2019 12:22 am
by ndevans
Thanks for the replies and informative link. Nothing to report for now, nor will there be for a few days at least, I have to reinforce the workshop table. The vic,e is going to rip through the work surface if I apply much more torque to the flange nut. I've got to 132ft-lb, and daren't go any further!
Cheers N
Re: Differential overhaul
Posted: Fri Oct 25, 2019 7:32 pm
by ndevans
Quick question, I received two new cage planet wheel shaft pegs today. The BMC manual says they should be tapped home, then the hole peened over with a punch. How do I do this?
And is it ok to use a bit of threadlock or bearing lock on the peg, will that hold it in place just as well as peening?
cheers N
Re: Differential overhaul
Posted: Fri Oct 25, 2019 8:06 pm
by philthehill
You do need to peen the end of the hole to secure the pin. Loctite is not suitable for this application
Once you have knocked the pin fully home you need to deform the outer end of the entry hole with a flat ended punch to sufficiently close the hole so as to stop the pin coming out. The hole does not have to be closed up completely.