Page 9 of 13
Re: Steves Morris Traveller 1970
Posted: Mon Mar 20, 2017 7:22 am
by greendefender123
I just use whatever I find in mothers or the girlfriends kitchens. Think they used engine degreaser on my seats which have come up like new.
Re: Steves Morris Traveller 1970
Posted: Tue Mar 28, 2017 2:15 pm
by greendefender123
Re: Steves Morris Traveller 1970
Posted: Tue Mar 28, 2017 6:58 pm
by greendefender123
Just replaced the track rod boot and end whilst clearing up. It's all the little jobs that make it come together.
Re: Steves Morris Traveller 1970
Posted: Fri Mar 31, 2017 12:36 pm
by greendefender123
Just been cleaning up the swivel for painting. Only giving it a quick coat of paint. Just had my order come through with the eyebolt and pin. Also ordered the chrome for the front. Some plugs as theyre cheap with this company and some bulbs. They came well packaged.
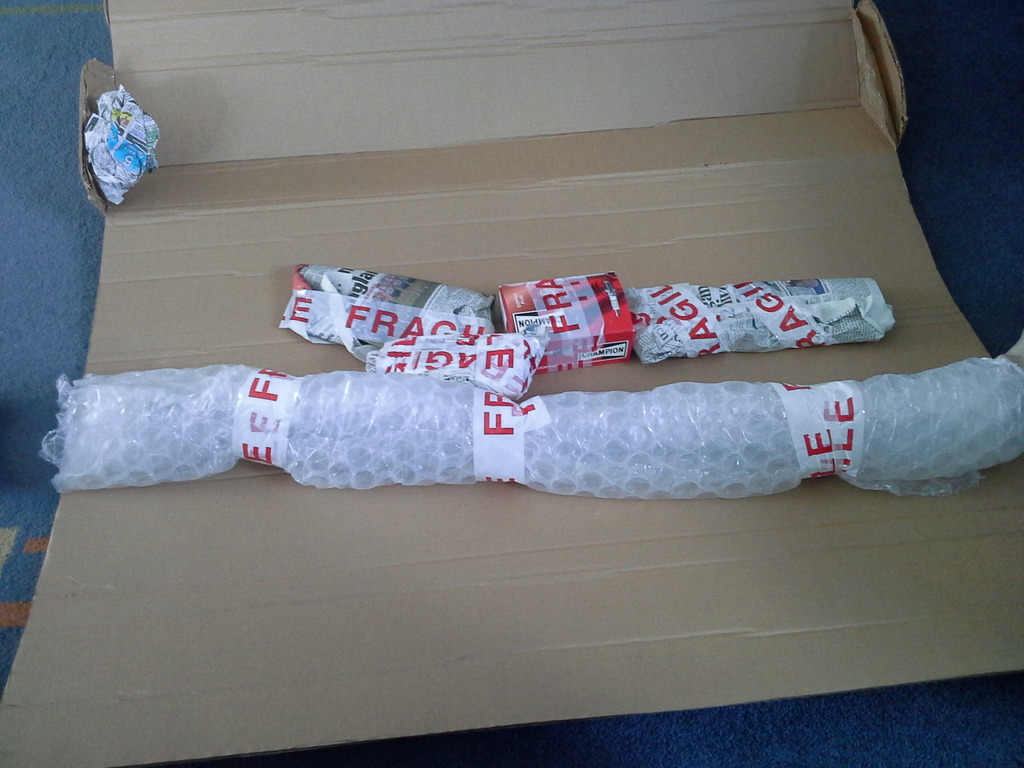
- 20170331_121021_zps217s9fej.jpg (193.11 KiB) Viewed 15622 times
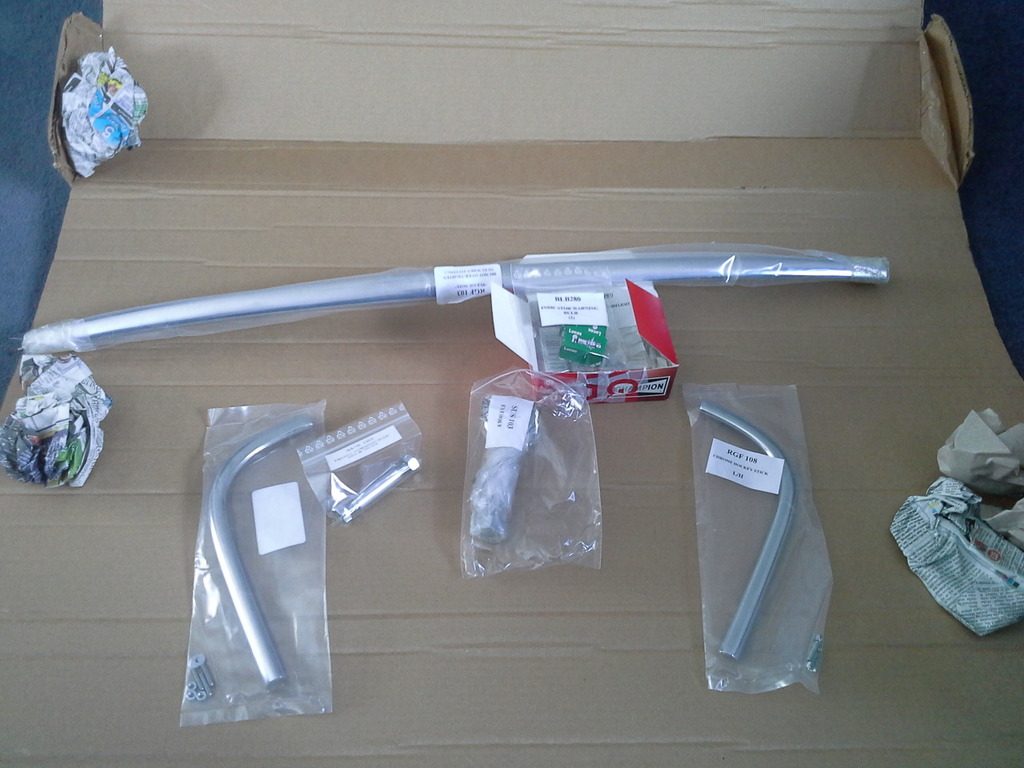
- 20170331_121524_zpsvtz9odu3.jpg (184.48 KiB) Viewed 15622 times
Re: Steves Morris Traveller 1970
Posted: Fri Mar 31, 2017 5:34 pm
by Smithy1961
The chrome looks good quality [comes with the screws too].
Re: Steves Morris Traveller 1970
Posted: Fri Mar 31, 2017 6:31 pm
by greendefender123
Yeah it looks very good. Especially the hockey sticks. The top rail has loads of warnings not to tighten it up up much. Stickers saying that everywhere. Looks like only slightly more than finger tight then. All from gsjones as esm were out of stock and slightly dearer.
Re: Steves Morris Traveller 1970
Posted: Fri Mar 31, 2017 7:07 pm
by Smithy1961
yes just over finger tight and maybe some locktight or something so it dont move
Re: Steves Morris Traveller 1970
Posted: Fri Mar 31, 2017 7:27 pm
by ManyMinors
If they made them properly in the first place they wouldn't need the "warnings"! What you really need to do is to make up a spacer to slide over the threads before you fit the top trim. The spacers will then keep the trim in the correct position. Without the spacer the temptation is to keep on tightening and pulling the trim out of shape - or simply pull the stud off

. The original trims were a casting which used a boss to do this job. On later cars a pressed trim was used and employed a plastic spacer instead but often these have been discarded. Do you still have these Steve? If not, then careful trial fitting should show you roughly how long they need to be. Goodness knows why these aren't provided........
Re: Steves Morris Traveller 1970
Posted: Fri Mar 31, 2017 9:18 pm
by greendefender123
Yes iv still got the old one with spacers on. Il pop then on. Could easily make some spacers tho. Surprising they dont come with any if its that big a problem for them. Some of old studs broke off which was part of the reason to replace it. Along with the corrosion. Probably could of saved the hockey sticks with more effort but the threads had stripped. Thanks for the advice.
Re: Steves Morris Traveller 1970
Posted: Mon Apr 03, 2017 7:06 pm
by greendefender123
Got the suspension back together on the n/s. Had to replace the top trunnion as it had play in it. Which was only noticeable once back on the car. Luckily I had a spare so put that on. No play now. Fitted the new brake pipe between the cylinders. I hax painted everything quickly before i refitted it all. I put a smear of red rubber grease on the wheel cylinders as they were starting to stick. I greased the wheel bearings. Hopefully they'll be ok, Feel and sound it. Greased the track rod end tho don't think it took any. Its all back together that side now. Tho I will check the nuts and bolts are all tight.
Iv fitted polybushes on it except the inner tie rod where I fitted a rubber one. Apart from the brake pipe and tyre that corner is finished.
Re: Steves Morris Traveller 1970
Posted: Thu Apr 06, 2017 8:40 pm
by greendefender123
Loads done. Front suspension completed on both sides and all painted with in gloss black. Wheel bearings greased up no play in them and spin smoothly. New track rod end and boots fitted and rack filled with grease. Fitted new brake pipes to the flexys from the t piece. They're good quality. I'm glad I paid extra for pre made ones. Just need bending and fitting. Took ages on my landy with some steel ones in place. I drained and refilled the shocks. Just need to finish refitting as im struggling to find the holes for the split pins. Changed the brake pipes on the axle. Only two pipes to do then the brakes can be bled.
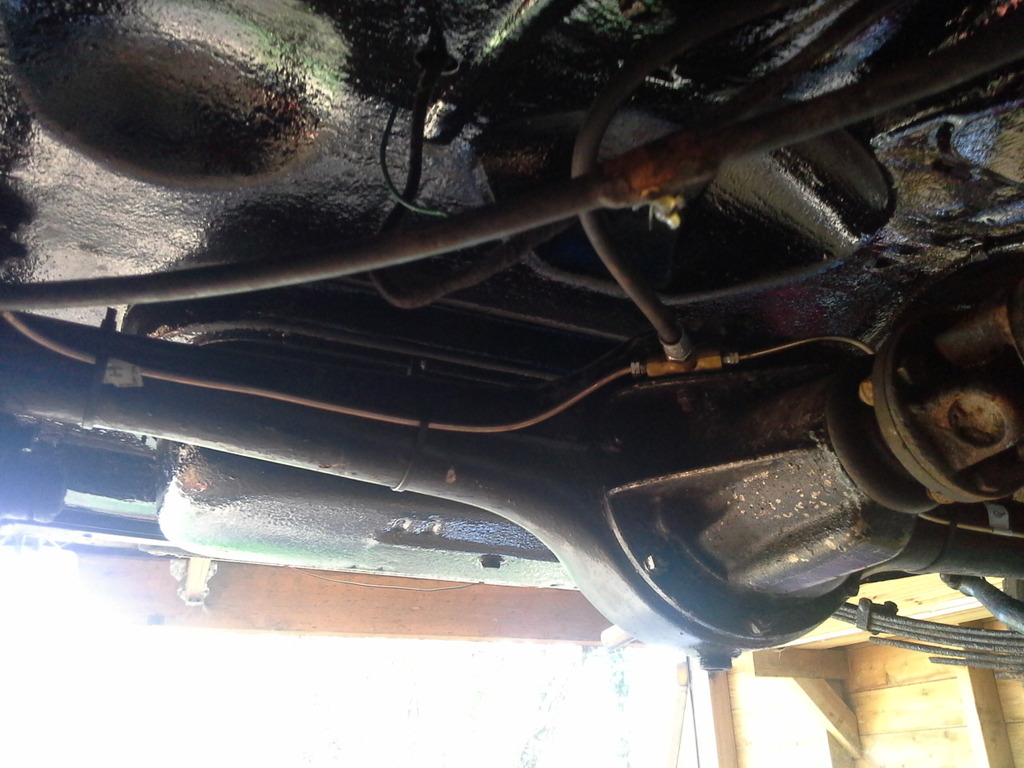
- 20170407_132828_zpsq1yfrgif.jpg (209.2 KiB) Viewed 15619 times
I took it for a quick spin around the field to warm the engine oil up. I drained it and tackled the filter. Once I worked how the seal went it was really easy. I filled the filter with oil and refitted. No leaks so I don't think il be changing to a spin on filter. Didnt seem much worse than the astra and didn't get oily like when doing the landy.
- 20170407_133036_zpsnk9oospr.jpg (210.84 KiB) Viewed 15619 times
Jobs left for the mot are mainly finishing the brakes, finishing off the electrics, waxoyling so the kick plates and transmission tunnel can be refitted, painting needs finishing. Iv got half a litre left which will hopefully do the roof and front panel. Painting the wheels and fitting the new tyres. Still other jobs that need doing. But im getting some where.
I also need to remove the front wings again and fit some rivnuts as I broke a nut off on the drivers side and the passenger side wants moving.
So close yet so far.
Re: Steves Morris Traveller 1970
Posted: Fri Apr 07, 2017 12:09 am
by amgrave
Well done, good progress there. The end must be in sight now?

Re: Steves Morris Traveller 1970
Posted: Fri Apr 07, 2017 1:47 pm
by greendefender123
Re: Steves Morris Traveller 1970
Posted: Fri Apr 07, 2017 6:59 pm
by SteveClem
You must feel very proud to have made all that progress...despite not being in tip top health. It's looking so good!
Re: Steves Morris Traveller 1970
Posted: Fri Apr 07, 2017 8:52 pm
by greendefender123
Thanks Steve. Its nice knowing I can still achieve things. Even if only a couple of hours on good days. Cant wait to get it done not that it's a rush but my landy needs some attention and the mot is due in June.
Re: Steves Morris Traveller 1970
Posted: Sat Apr 08, 2017 6:55 pm
by greendefender123
Just bled the brakes today wit the girlfriend. Bled it loads but feels like it's got air in there. Brakes work but pedal goes down quite far. Anything to look for? No leaks since I tightened a union. Does loosening the brake switch help whilst under pressure? I couldn't get it to lose tho can try again.
Thanks Steve
Re: Steves Morris Traveller 1970
Posted: Sat Apr 08, 2017 9:19 pm
by Smithy1961
Steve you said the pedal goes down a lot but how firm is it ?
Do you have a firm pedal
Re: Steves Morris Traveller 1970
Posted: Sat Apr 08, 2017 9:36 pm
by greendefender123
It goes down quite far. Still stops the car. I cant remember what it felt like was afew hours ago. Tho I remember thinking im gonna lock the adjusters tight and see how it feels. Pedal might even need adjusting aswell as I had it apart and think I changed or straightened the pin that goes into the master cylinder as it was slightly bent. Might also gravity bleed the the brakes. Sorry annoyed with myself now can't remember properly. Definitely had brakes as I thought atleast that's done now till the mot.
Re: Steves Morris Traveller 1970
Posted: Sat Apr 08, 2017 9:49 pm
by Smithy1961
Well a bit of a flaw with these brakes is the swept displacement and badly positioned bleed nipples [a result of morris using the same parts bin on most cars I expect] so forcing the air out can be tricky.
I unadjust the brakes so the fliud displaces the clyds more and then as the brake shoes pull them shut it forces air out the nipple .
The pedal height requires that the brakes are correctly adjusted however i wonder that if you played with the M/C rod that your problem lies there .
Re: Steves Morris Traveller 1970
Posted: Sun Apr 09, 2017 11:15 am
by greendefender123
Thanks smithy just been out this morning the brake pedal seems good. I forgot about the master cylinder cover and transmission tunnel. With these held in place the pedal is only abit low and feels quite firm. I will probably try and bleed them again later on and possibly adjust the pedal height if it still low.
Thanks Steve


